
You want to give additional people access to the openXEdge UI — typically a maintenance and a shop-floor operator account on top of the existing admin.
Prerequisites
- You are signed in as a user with the
settingspermission (the factoryadmin). - You have decided which areas the new user should be allowed to see.
See existing accounts
-
Top-right cog → Settings → Manage Users in the sidebar.
-
The accounts table appears with permission columns:
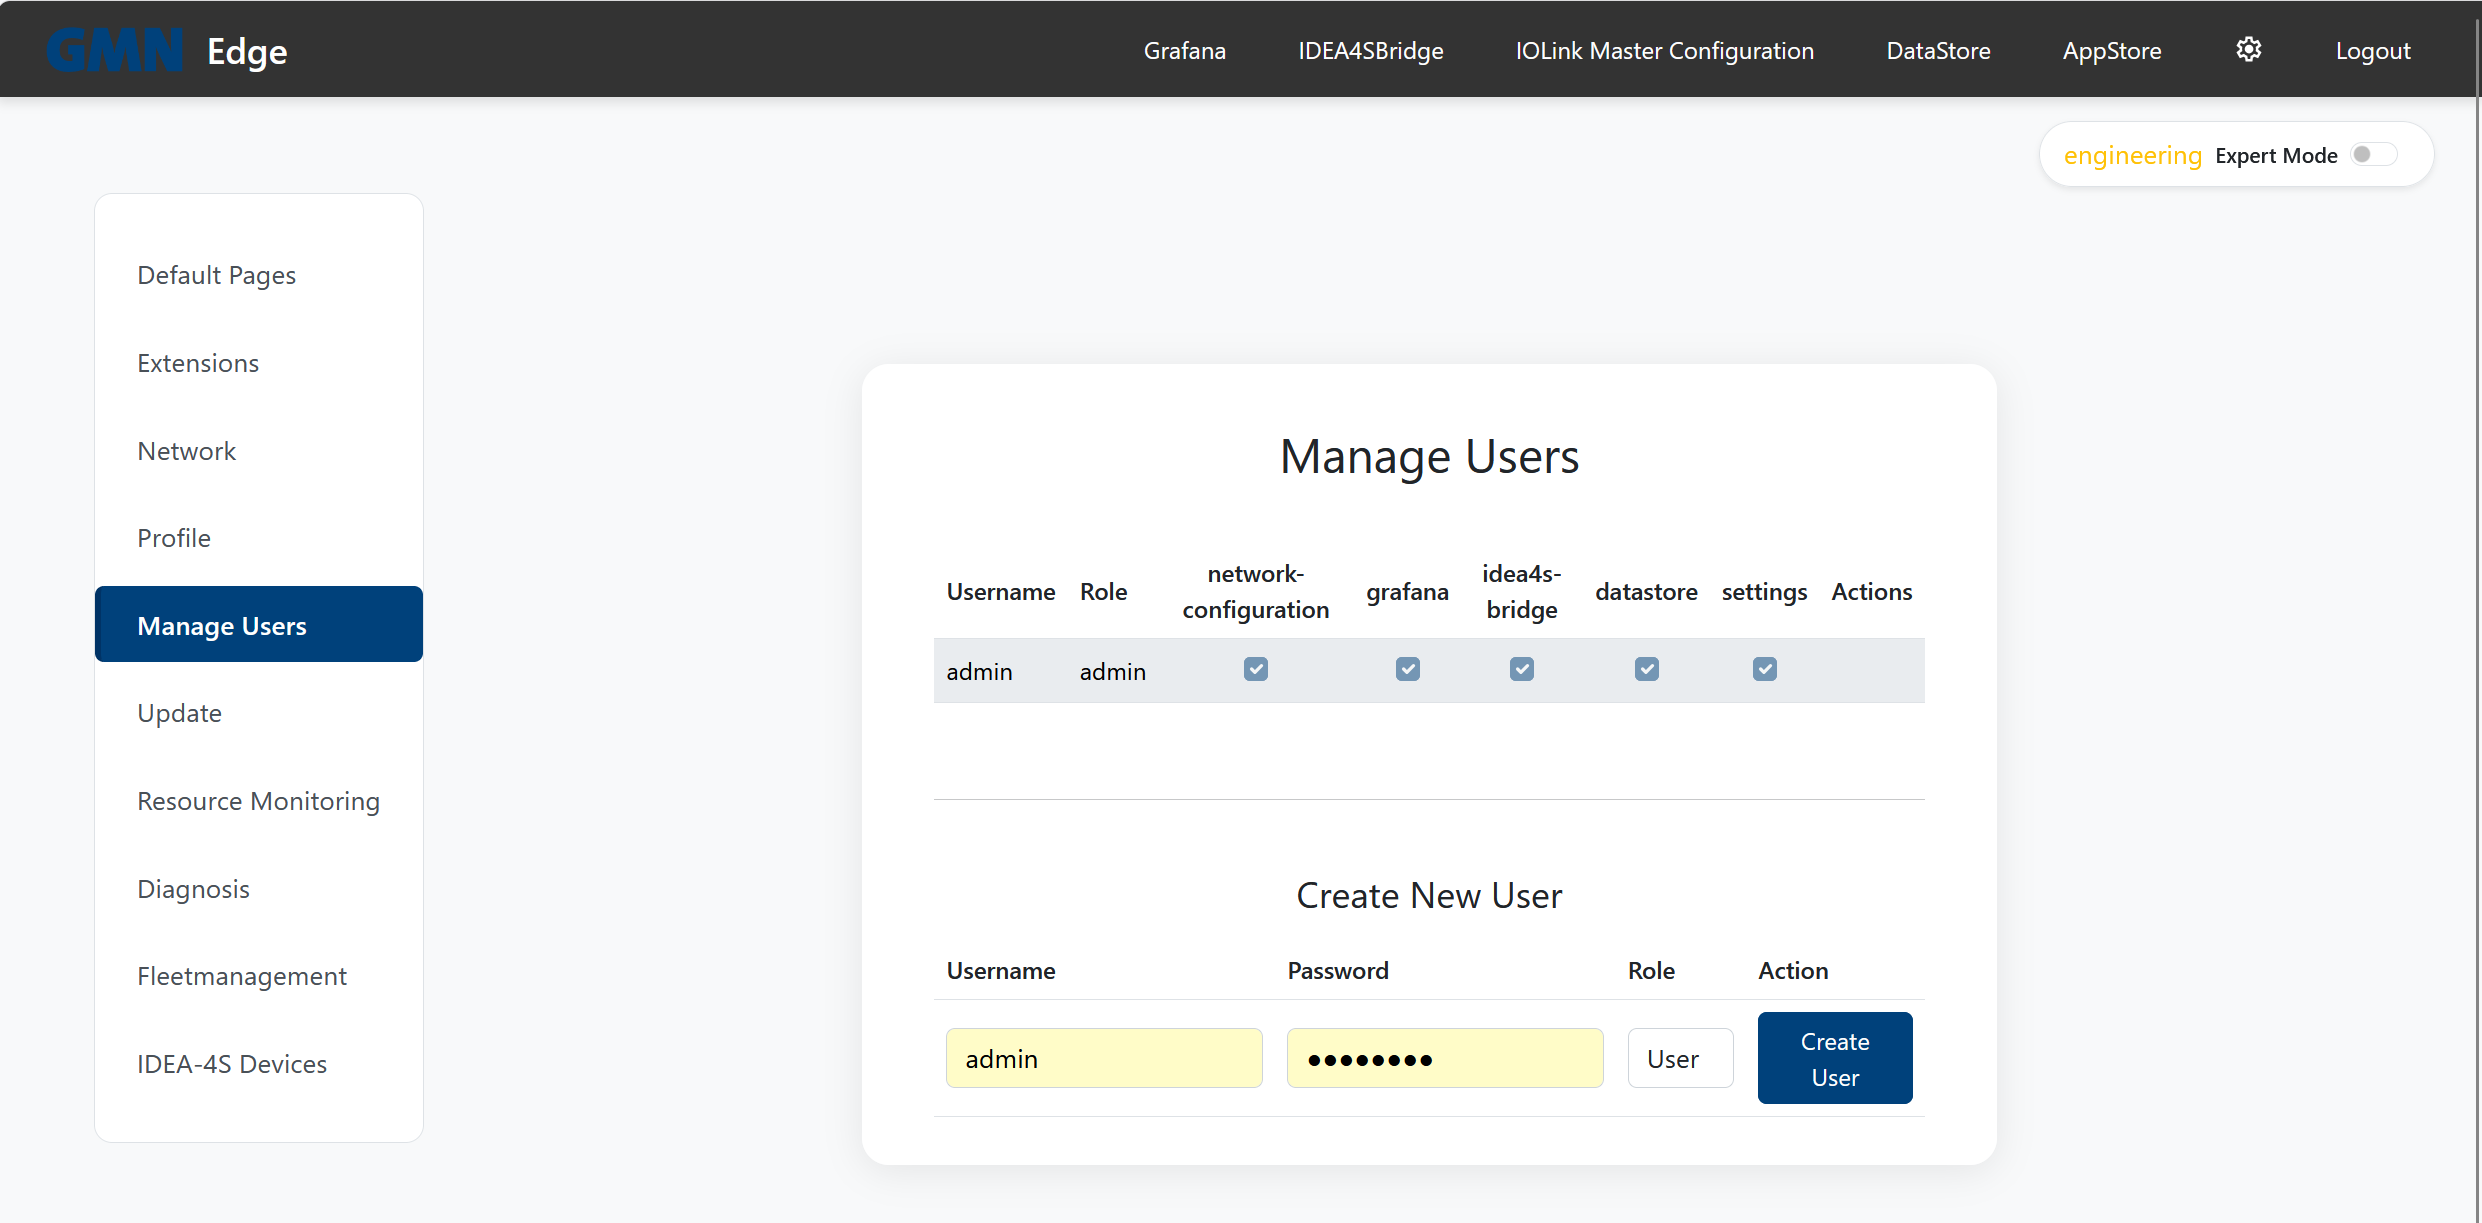
| Column | Meaning |
|---|---|
datastore | Sees the DataStore tile and reaches the internal-database UI. |
settings | Sees the entire settings area, including network, other accounts and Update. |
admin has every permission by definition.
Create a new user
In the Create New User block at the bottom:
- Username — free-form, unique.
- Password — set initial password. The line under the field states what the password policy requires, by default at least 10 characters and not the username.
- Role —
Userfor restricted accounts,adminfor full rights. - Click Create User.
The new row appears immediately. Tick the permission boxes so the person sees exactly the areas they need — e.g. a shop-floor account gets datastore only, never settings.
If the password does not meet the policy, no account is created and the reason appears at the top.
Set the password policy
The Password policy block sets what a new password must meet:
| Field | Meaning | Default |
|---|---|---|
| Minimum length | Minimum number of characters, 8 to 64 | 10 |
| Character types required | How many of the four character types must appear: lower case, upper case, digits, other characters | any |
| Must not contain the username | The password may not contain the username | on |
Save password policy applies it at once. It applies to new accounts and to every password changed from now on. Existing passwords stay valid, so nobody is locked out. The password from first commissioning and a reset by Brinkhaus staff are exempt.
Length protects better than required character types. A long phrase of several words is safer and easier to remember than a short password with special characters.
Change permissions
Tick or untick the boxes directly in the table — the change takes effect on the user’s next page load.
Delete an account
Actions column → trash button. Note: the last remaining admin cannot be deleted — otherwise nobody could log in.
Kiosk link: show one app on a shop-floor monitor without a login
A wall-mounted screen should show an app such as the DataStore all day, without somebody typing a password after every restart. The Kiosk links block below Create New User is for that.
- Click Create link next to the app.
- Copy the link (Copy) and set it as the start page of the monitor’s browser.
Whoever opens the link is signed in automatically as a viewer and sees that one app only — no navigation bar, no settings, no way to change or acknowledge anything. The DataStore opens straight in its kiosk display; its log records such sessions as user kiosk.
| Button | Effect |
|---|---|
| Create link / New link | Creates a (new) link. The old one stops working; screens still using it land on the login page the next time they load. |
| Revoke | Withdraws the link. |
| Copy | Copies the link to the clipboard. |
Notes
- The link is an access: anyone who has it sees that app’s data. Hand it only to people who may see it, and create a new one if it may have leaked.
- The link shown carries the address you are signed in through right now. Every other address of the edge works the same; only the part from
/share/on matters.
How long a login lasts
A login lasts 72 hours after the last request and is extended by every use. A screen that runs all the time, such as a shop-floor monitor, therefore stays signed in. A forgotten browser tab signs itself out three days after it was last used. The login also survives a browser restart. Kiosk links do not expire. They stay valid until you revoke or renew them.
If you lock yourself out
- Another user with
settingspermission can reset the password in the Manage-Users table. - Failing that, Brinkhaus personnel can re-derive the initial password from the machine ID — see First boot walkthrough.